
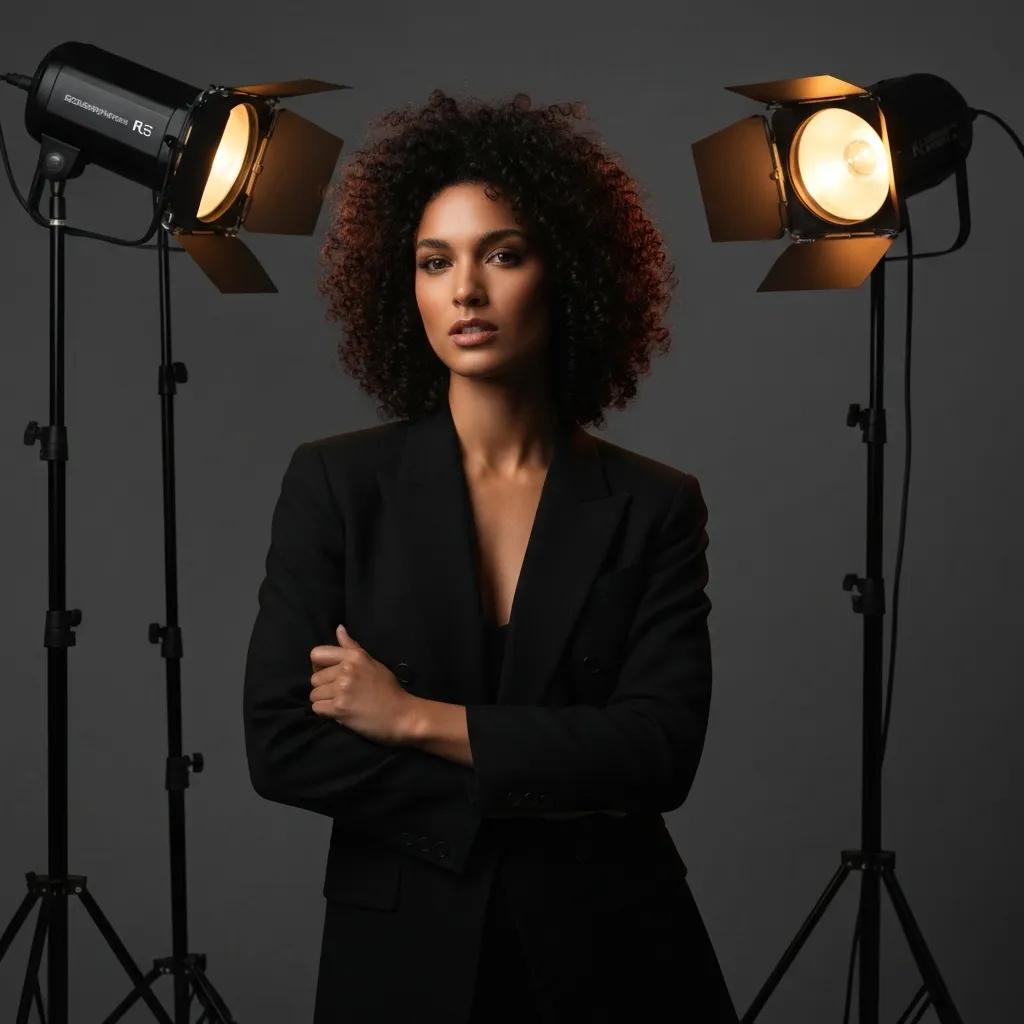
photography shots
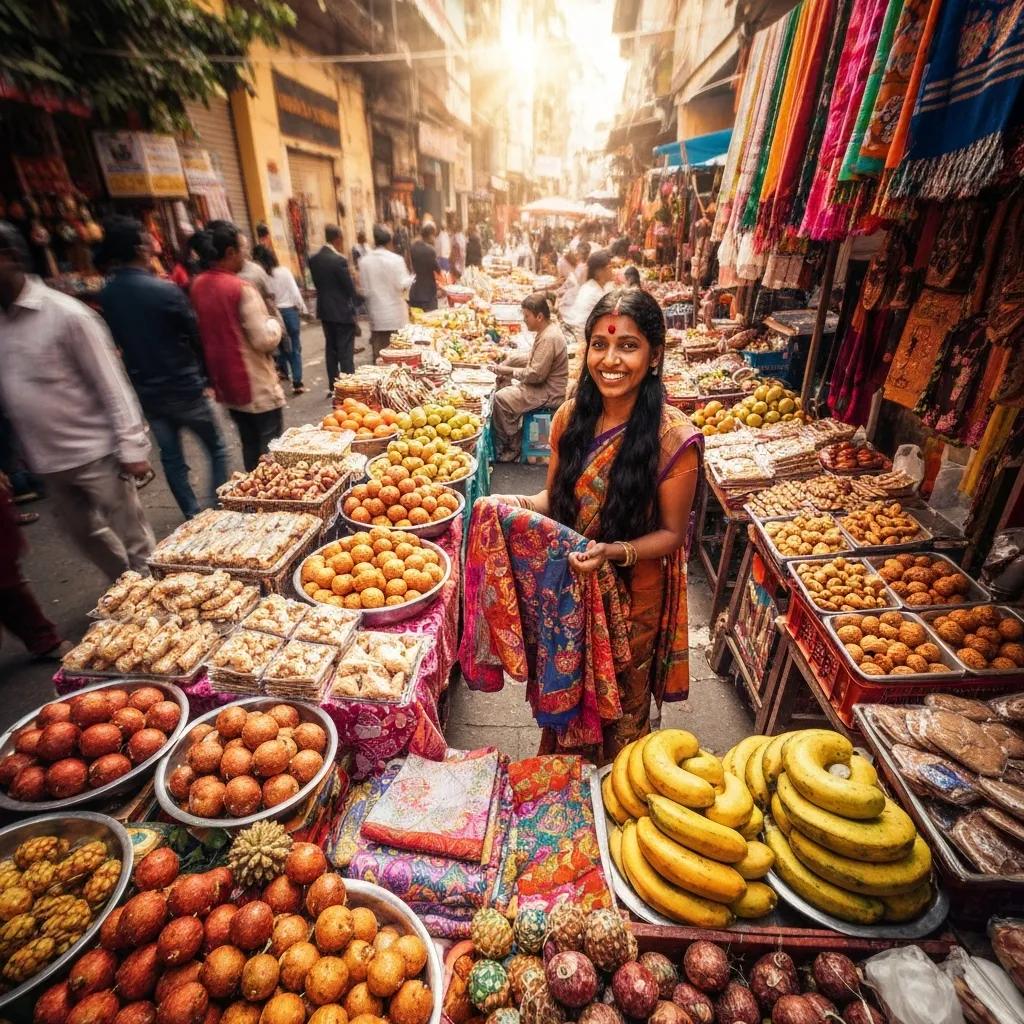
Mastering Photography Shots: Essential Camera Types, Angles, and Composition Techniques for Stunning Images
Photography shots are the building blocks of visual storytelling, combining camera shot types, angles, and composition techniques to shape how viewers perceive a scene. This guide explains what common photography shots are, how angles influence mood, and which composition rules create clarity and impact, so you can make deliberate creative choices when you shoot. You will learn practical camera settings, lens suggestions, and lighting approaches across genres like portrait, landscape, and macro photography, plus 2024-relevant trends such as AI editing workflows and retro aesthetics. Readers will get concise featured-snippet style lists for quick reference, EAV comparison tables for fast decision-making, and step-by-step tips to improve technical execution. The goal is to move you from reactive snapping to purposeful image-making by linking concept, mechanism, and concrete practice in each section of the article.
What Are the Different Camera Shot Types in Photography?

A camera shot type defines the framing scale and how much of the environment or subject is visible, which in turn controls storytelling emphasis and viewer attention. Different shots work by changing apparent distance, depth of field, and context, producing effects from intimacy to scope; choosing the right shot type helps communicate character, place, or action. Below is a concise list of common shot types with one-line definitions for quick reference, optimized for fast decision-making on set.
Common camera shot types and quick definitions:
- Extreme Close-Up: Shows minute detail or texture to emphasize emotion or a specific object.
- Close-Up: Frames the subject tightly to highlight facial expression or detail.
- Medium Shot: Balances subject and surroundings to show posture and interaction.
- Long Shot: Captures environment to establish location or scale relative to subject.
- Tracking/Dolly Shot: Follows motion to maintain subject continuity and add dynamism.
- POV (Point of View): Represents a character’s visual perspective to increase immersion.
These types move from intimate to expansive, each serving a different narrative role and informing lens and aperture choices for capture. Understanding those roles leads to practical capture tips and a quick comparison table to choose shots based on intent.
This quick reference makes it easier to select the right shot for visual intent and prepares you for the technical notes that follow in the close-up and movement-focused subsections.
How Do Close-Up and Extreme Close-Up Shots Capture Detail and Emotion?
Close-up and extreme close-up shots capture emotion and texture by narrowing the frame and using shallow depth of field to isolate the subject from background distractions. They work because a narrow field reduces contextual information and forces the viewer to focus on a facial expression, tear, or surface detail, creating intimacy or tension. For technical setup, choose macro or short-telephoto lenses (85–135mm equivalent for portraits, 60–105mm macro for details) and open apertures (f/1.8–f/4) to achieve pleasing bokeh while keeping the focal plane sharp on critical features. Controlled lighting—small softboxes or directional natural light—preserves texture and avoids harsh specular highlights; use manual focus or focus stacking for extreme close-ups to maintain sharpness across the focal plane. Mastering these techniques feeds directly into when to pull back for context, which the next subsection addresses.
When Should You Use Long, Medium, and Tracking Shots for Visual Storytelling?
Long, medium, and tracking shots each support different storytelling needs by varying context, relational information, and motion continuity in a scene. Long shots establish environment and scale—ideal for travel and landscape storytelling—while medium shots reveal interactions, posture, and relative distance between subjects for narrative clarity. Tracking shots add motion continuity and cinematic pacing; use gimbals, dollies, or stabilized sliders to keep the subject framed consistently while moving, and select focal lengths that preserve context without compressing the background too much. Recommended focal ranges: wide-angle to moderate wide (24–35mm) for establishing shots, 35–85mm for medium framing, and 24–70mm or 35–100mm on a stabilizer for smooth tracking depending on desired compression. Knowing when to combine these shots during a shoot promotes coherent visual arcs and prepares you to choose angles that amplify mood, which the next major section examines.
How Do Camera Angles Influence the Mood and Perspective of Photography Shots?
Camera angles alter perceived power dynamics, vulnerability, abstraction, and viewer alignment by changing the camera’s relation to the subject; this mechanical change in viewpoint produces predictable emotional responses. High angles tend to reduce perceived power and suggest vulnerability or overview, low angles emphasize dominance or heroism, and bird’s-eye views abstract scenes and emphasize patterns. Practical composition advice for choosing angles includes adjusting focal length to manage distortion, positioning the subject relative to the frame edges to control gaze, and using angle plus depth of field to guide emotional reading. The table below directly maps common angles to emotional effects and gives composition tips to deploy them consistently.
What Emotional Effects Do High Angle, Low Angle, and Bird’s-Eye View Shots Create?
High, low, and bird’s-eye angles each carry consistent psychological weight: high angles reduce authority and suggest fragility or surveillance; low angles amplify strength and presence; bird’s-eye views abstract detail and reveal spatial relationships. For portraits, a modest high angle softens features and can create approachability, while a low-angle editorial portrait projects authority and stature. In landscapes or street photography, bird’s-eye perspectives compress and organize elements into compositional patterns that emphasize design over individual subjects. Practically, combine angle with focal length—short telephoto for portraits to avoid distortion at low angles, wider lenses for bird’s-eye captures to include context—and adjust exposure to preserve highlight detail from unconventional light directions. Recognizing these emotional effects prepares you to use Dutch and eye-level shots for complementary storytelling strategies.
How Can Dutch Angle and Eye-Level Shots Enhance Composition and Storytelling?
Dutch angles introduce tension and psychological unease by tilting the horizon, making viewers feel off-balance, while eye-level shots create direct rapport and a sense of normalcy. Use Dutch angles sparingly for narrative beats that require disorientation—tilt 10–20 degrees and reinforce the effect with skewed leading lines or contrasting verticals. Eye-level framing works well for portraits, interviews, and documentary moments because it aligns viewer sightlines with the subject’s gaze; maintain consistent eye-level across cuts to preserve continuity. When switching between these angles, use transitional footage or motion to avoid jarring the viewer; for example, start with eye-level to build empathy, then briefly cut to a Dutch angle to signify inner turmoil. These angle decisions naturally lead to composition techniques that further direct viewer attention, discussed next.
What Are the Key Photography Composition Techniques to Improve Your Shots?
Composition techniques are structural rules and devices—like the rule of thirds, leading lines, and negative space—that direct attention, balance elements, and create visual hierarchy in an image. Each technique functions by organizing spatial relationships and contrast so the viewer’s eye follows an intended path, enhancing clarity and emotional effect. Practicing and combining these techniques helps produce stronger images across genres, and the following subsections break out rule application and directional devices with exercises to build skill.
Here are core composition techniques with concise explanations:
- Rule of Thirds: Place focal points along thirds lines or intersections to create balanced tension.
- Leading Lines: Use converging lines to guide the viewer toward the subject.
- Framing: Use foreground elements to create a frame that isolates and emphasizes the subject.
- Negative Space: Allow empty or quiet areas to set mood and emphasize scale.
- Symmetry & Patterns: Employ mirrored elements to create visual harmony or deliberate repetition.
Practicing these techniques with specific exercises—repositioning the subject on the grid, searching for strong foreground lines, or intentionally creating negative space—accelerates intuitive composition and readies you for genre-specific application.
How Does the Rule of Thirds Help Achieve Visual Balance and Focus?
The rule of thirds divides the frame into thirds both horizontally and vertically and uses intersection points as natural attention anchors, helping to balance subject placement against background elements. It works because human vision prefers off-center compositions that lead the eye around the frame rather than pinning it in the center; placing a subject on an intersection creates stable tension and facilitates movement through the image. Practical drills include placing eyes along the top horizontal third for portraits or aligning horizons to the top or bottom third depending on whether you want to emphasize sky or foreground. Learn when to break the rule—central symmetry can be powerful for formal portraits or architectural shots—and use that intentional break as a compositional statement. Mastery of this approach leads into the next set of directional devices that actively guide viewer attention.
The principles of composition, such as the Rule of Thirds and framing, are fundamental to creating visually appealing photographs.
Computational Approaches to Aesthetic Quality Assessment in Photography
The existing studies reveal that aesthetic quality of photographs depend on the compositional rules like Rule of Third, Golden ratio, Depth of field, and the color space features such as hue, saturation, texture. The purposes of this paper are to present current state of the art in aesthetic evaluation of photographs and provide few future research directions in this area. These future research directions are based on some interesting and unexplored rules of composition like Spiral structure, Framing, Symmetry, Pattern and others. These can be used for better assessment of aesthetic values of photographs.
Computational approaches to aesthetic quality assessment of digital photographs: state of the art and future research directives, S Changder, 2020
How Can Leading Lines, Framing, and Negative Space Guide the Viewer’s Eye?
Leading lines, framing, and negative space are compositional tools that create a visual hierarchy and motion, channeling attention toward the primary subject. Leading lines—roads, fences, or shadows—pull the eye into depth and connect foreground to subject, while framing (arches, windows) isolates the subject and provides context simultaneously. Negative space removes distracting detail to emphasize scale, mood, or loneliness; use expanses of sky or wall to make a subject feel small or contemplative. Combine these devices—for instance, frame a subject using architectural elements while employing a leading line to draw the eye into that frame—to increase compositional clarity and emotional specificity. Practicing these techniques prepares you to adapt them across genres like portraiture and landscapes, which we cover next.
How Do Genre-Specific Photography Shots Differ for Portrait, Landscape, and Macro Photography?
Genre-specific shots prioritize different attributes—portraits emphasize connection and flattering focal lengths, landscapes prioritize depth and layered foregrounds, and macro requires extreme detail management and lighting control—each demanding tailored gear, focal lengths, and compositional templates. Understanding genre priorities gives clear rules for lens choice, aperture control, and scene planning so you can achieve professional results quickly. The following subsections unpack portrait angles and landscape composition techniques with practical recommendations to apply on location.
What Are the Best Portrait Photography Angles to Emphasize Expression and Gaze?
Portrait angles shape perceived personality and intimacy by modifying how facial features and body language appear to the viewer; three-quarter turns, eye-level frames, and slightly above angles are often flattering for most subjects. Use 85–135mm equivalents for head-and-shoulder shots to compress features subtly and avoid distortion, and place the subject’s eyes on a top-third intersection to create connection. Slightly above eye-level softens jawlines and emphasizes eyes, while low-angle portraits deliver a more assertive, editorial look suited to fashion or dramatic storytelling. Pair angle choice with soft directional lighting and subtle fill to sculpt form without flattening features; this combination of angle, focal length, and light drives expression and viewer engagement, and informs landscape approaches that prioritize different compositional elements.
How Do Landscape Photography Composition Techniques Capture Epic Scenes?
Landscape composition relies on foreground interest, layered depth, and strategic use of light to convey scale and drama, using wide to moderate focal lengths and often small apertures for large depth of field. Include strong foreground elements—rocks, wildflowers, or structures—to anchor the image, deploy leading lines to move the eye through middle ground to background, and use graduated ND filters or exposure blending to manage dynamic range in skies. Golden hour lighting softens shadows and produces warm highlights that enhance texture; long exposures smooth water and cloud motion for an ethereal effect that contrasts with sharp foreground detail. Planning for weather, scout vantage points, and bracket exposures when appropriate to preserve highlight and shadow detail, then apply post-processing selectively to enhance rather than fabricate the scene.
What Advanced Photography Techniques and Trends Should You Use in 2024?
Advanced techniques like long exposure and golden hour optimization remain essential, and 2024 trends add practical AI-assisted editing workflows and retro aesthetic options that speed production and expand creative choices. Long exposures extend shutter time to smooth motion and reveal luminous trails, while golden hour lighting enhances color and form; both require disciplined exposure management. AI tools now accelerate routine edits—noise reduction, selection masks, and creative variations—while ethical considerations require transparency and careful preservation of scene integrity. Retro aesthetics—film grain emulation, film curve color grading, and selective desaturation—offer stylistic choices that communicate nostalgia when used intentionally. Next, we cover long exposure and golden hour setups, then practical AI and retro editing steps to implement these trends responsibly.
How Do Long Exposure and Golden Hour Lighting Enhance Creative Shots?
Long exposure techniques enhance creative impact by smoothing motion, stretching light trails, or creating glass-like water surfaces; they rely on slow shutter speeds, stable tripods, and ND filters to control exposure. Typical long exposure ranges vary by effect—1–30 seconds for soft water textures up to minutes for star trails—while using low ISO and small apertures preserves detail and controls noise. Golden hour, the hour after sunrise and before sunset, provides warm, low-angle light that sculpts texture and color with gentle contrast; shoot at wider apertures and slightly faster shutters to retain catchlight and avoid motion blur for portraits. Combine these methods—use golden hour for warm long-exposure seascapes or capture motion during dusk to balance ambient and artificial light—then use careful exposure blending to maintain highlights in the sky.
How Is AI Changing Photography Editing and What Are Retro Aesthetic Trends?
AI tools streamline editing by automating selection, masking, and batch adjustments while enabling creative variants and upscaling; they work by identifying semantic regions and applying learned adjustments to speed workflows. Use AI for repetitive tasks—skin retouching, background separation, and exposure matching—while preserving artistic control through manual refinement and consistent color grading choices. Retro aesthetic trends replicate film characteristics through added grain, film curve emulation, muted palettes, and selective vignetting; apply these steps as incremental edits (tone curve, color balance, grain layer) rather than wholesale replacements to retain realism. Ethical practice in 2024 encourages disclosure when AI materially alters content and prioritizes truthful representation, a consideration that informs practical capture and post workflows discussed next.
How Can You Apply Practical Tips to Take Better Photography Shots?
Applying practical tips requires combining gear choices, exposure settings, lighting strategies, and focus methods tailored to your genre and shot intent; this checklist-oriented section provides quick recipes you can use in the field. Start by matching lens and focal length to shot type, set exposure basics (ISO-aperture-shutter) to control depth and motion, and use light modifiers or reflectors to shape contrast.
A quick checklist for capturing strong shots:
- Match Lens to Intent: Choose 85–135mm for portraits, 24–35mm for landscapes, and macro lenses for close detail.
- Set Exposure First: Decide depth of field (aperture), then shutter to control motion, and ISO last to limit noise.
- Manage Light: Use reflectors, diffusers, or small strobes to fill shadows and preserve texture.
- Stabilize Motion: Employ tripods, gimbals, or higher shutter speeds to prevent blur where necessary.
These practical rules translate into specific gear-and-setting recommendations shown in the table below to streamline decision-making on shoots.
This table condenses recommended setups so you can pick settings quickly based on genre and shot type, and the following subsections expand on equipment and lighting details.
What Equipment and Settings Optimize Different Camera Shots and Angles?
Selecting the right equipment and settings reduces guesswork: choose focal lengths that match shot scale, stabilize with tripods or gimbals for slow shutter work, and pick filters to manage light and motion. For portraits, a fast short-telephoto and modest aperture create pleasing subject separation; for landscapes, a wide lens with small aperture increases depth of field. Stabilization options—tripod for long exposures, gimbal for moving subjects—preserve sharpness while permitting creative camera movement, and ND or polarizing filters help manage exposure and reflections. Pair these hardware choices with practical settings templates—aperture-priority for depth control, shutter-priority for motion control, and manual mode for precise blended exposures—to execute the shot confidently, which leads naturally into lighting and focus techniques.
How Do Lighting and Focus Techniques Improve Shot Quality Across Genres?
Lighting and focus strategies determine perceived depth, texture, and clarity; choosing natural versus flash setups and selecting focus modes are critical to consistent quality. Use natural modifiers—diffusers, reflectors, window light—to craft soft, directional illumination for portraits, and small strobes or off-camera flash for controlled highlights and catchlights. For focus, switch between single-point AF for static subjects and continuous AF tracking for motion; use focus stacking in macro work for extended depth of field. Troubleshoot common problems: increase shutter speed to fix motion blur, use tighter aperture and more light for greater depth, and add fill light to recover shadow detail. Mastering these techniques ensures technical success and supports compositional choices made earlier in the guide.
- Practice deliberate sequencing: Start with an establishing long shot, move to medium compositions, and finish with close-ups to tell a cohesive visual story.
- Use presets sparingly: Build custom looks that preserve skin tones and natural contrast while allowing for creative retro grading.
- Respect ethical editing: Disclose significant AI edits or compositing choices when they materially alter content.
These practical points close the loop between concept and execution so your shots reliably convey intended mood, perspective, and story using techniques and tools covered throughout this article.
Be the first to comment